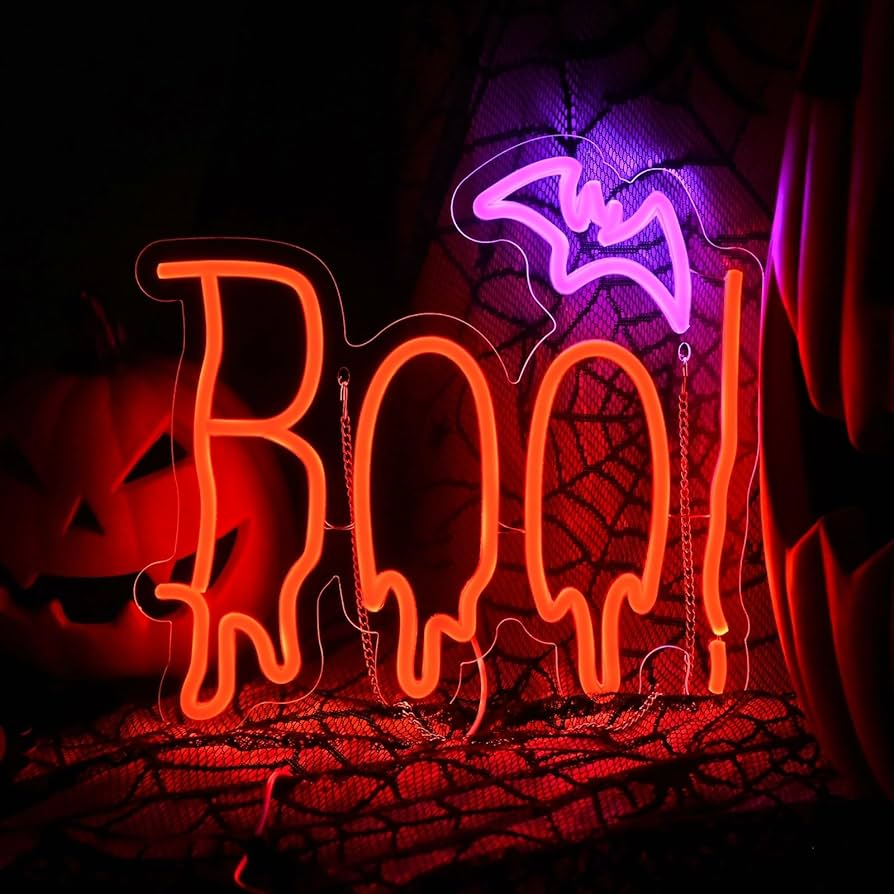
10 Spooky DIY Halloween Neon Sign Ideas and Tutorials

10 Spooky DIY Halloween Neon Sign Ideas and Tutorials

Image Source: pexels

Unleash Your Creativity

Get ready to add some spooky flair to your Halloween decorations with these DIY Halloween neon sign ideas and tutorials. Whether you're a DIY enthusiast, Halloween lover, artist, or crafter, creating your own eye-catching neon signs is a fantastic way to showcase your creativity. In this section, we will explore the materials needed, step-by-step guides, and design inspiration to help you bring your spooky Halloween neon sign ideas to life.

With the right materials and guidance, you can transform ordinary spaces into hauntingly beautiful displays. From eerie phrases to ghostly symbols, the possibilities are endless when it comes to designing your own Halloween neon signs. So let's dive in and discover how you can unleash your creativity and create mesmerizing DIY Halloween neon signs that will leave everyone spellbound.

Image-1

Essential Materials and Tools

When it comes to creating your own spooky Halloween neon signs, having the right materials is essential. Here is a list of the materials you will need to bring your DIY Halloween neon sign ideas to life:

Materials Needed

  1. Neon Flex Tube: This is the main component of your neon sign and comes in various colors. Choose colors that suit the spooky Halloween theme, such as eerie green, blood red, or ghostly white.

  2. Clear Acrylic Backing: This provides support for your neon flex tube and helps protect it from damage. Make sure to select a sturdy and transparent acrylic sheet.

  3. Transformer: The transformer powers the neon flex tube and converts the electrical current to the appropriate voltage. Ensure that you choose a transformer suitable for your specific neon flex tube.

  4. Electrical Wires: These are necessary for connecting the neon flex tube to the transformer safely. Opt for high-quality wires that can handle the electrical load.

  5. Mounting Hardware: Depending on how you plan to display your Halloween neon sign, you may need mounting hardware such as brackets or hooks.

  6. Adhesive Tape or Glue: Use adhesive tape or glue designed for outdoor use to secure the neon flex tube onto the acrylic backing.

Tools Required

To successfully create your DIY Halloween neon sign, you will need a few tools:

  1. Wire Cutters: These are essential for cutting and stripping wires during the installation process.

  2. Heat Gun or Lighter: You'll need a heat gun or lighter to heat-shrink any wire connections for added safety and durability.

  3. Screwdriver: A screwdriver will come in handy when attaching mounting hardware or opening up electrical components if needed.

  4. Measuring Tape: Accurate measurements are crucial when positioning and aligning your neon flex tube on the acrylic backing.

Remember, safety should always be a priority when working with electrical components and tools. Wear protective gloves and goggles, and follow the manufacturer's instructions for each tool and material you use.

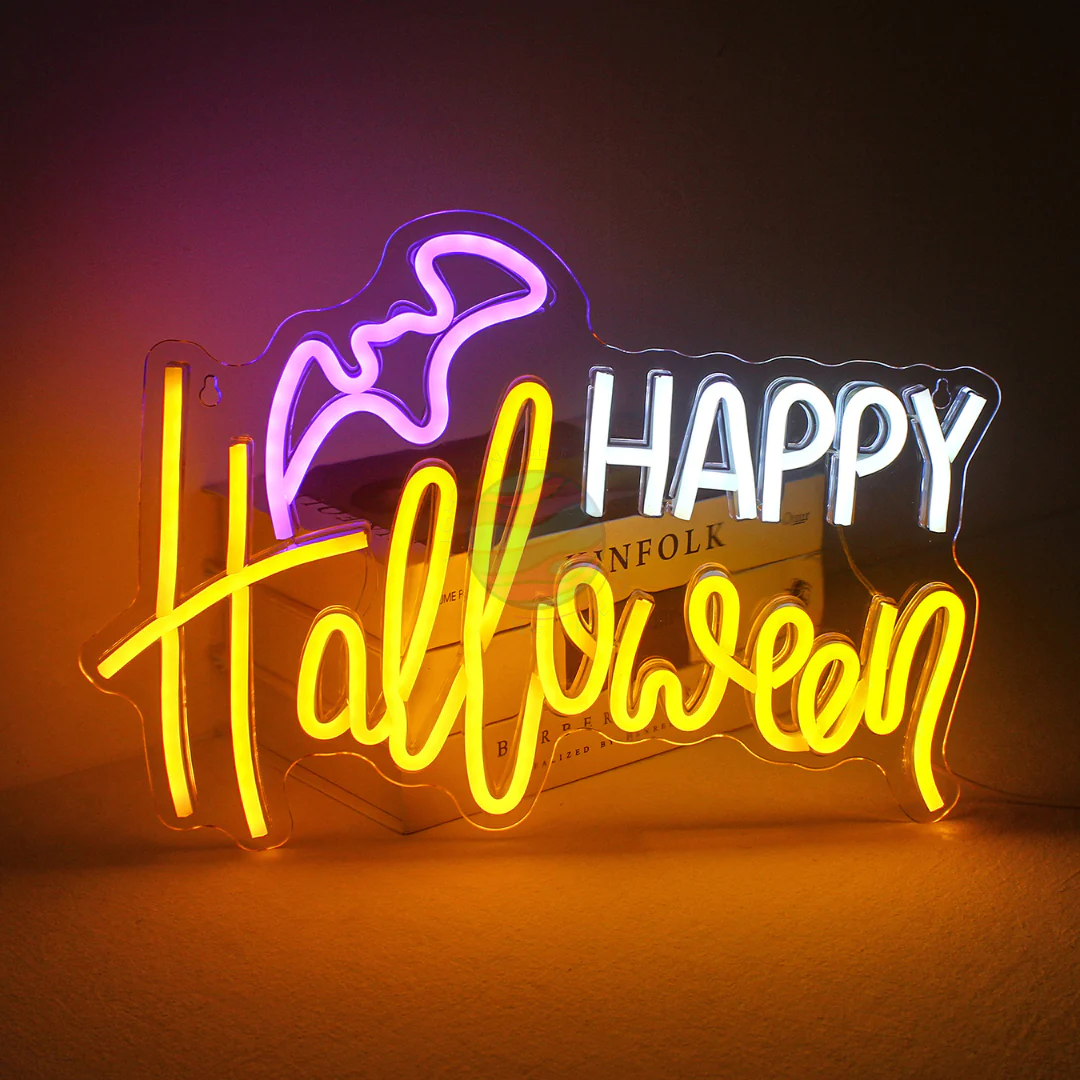
Image-1

Step-by-Step Guides

Creating your own DIY Halloween neon sign involves a series of steps to ensure a successful and visually striking result. Let's walk through the process together:

Preparing the Workspace

Before you begin, it's important to set up a safe and organized workspace for your DIY Halloween neon sign project. Here are some tips to help you get started:

  1. Choose a well-ventilated area: Working with materials like adhesive tape or glue may produce fumes, so make sure you have proper ventilation.

  2. Clear the workspace: Remove any clutter or unnecessary items from your work area to create a clean and spacious environment.

  3. Lay down protective covering: Place a drop cloth or plastic sheeting on your work surface to protect it from any spills or damage.

  4. Gather necessary equipment: Ensure that you have all the tools and materials mentioned earlier in the Essential Materials and Tools section within reach.

Designing the Neon Sign

Designing your Halloween neon sign is where your creativity truly shines. Follow these steps to bring your spooky vision to life:

  1. Choose colors wisely: Select colors that evoke a spooky Halloween vibe, such as deep purples, eerie greens, or haunting oranges. Experiment with different combinations to find what works best for your design.

  2. Consider fonts and typography: Opt for fonts that match the theme of your Halloween neon sign. Gothic-style fonts or handwritten script can add an extra touch of spookiness.

  3. Add special effects: To enhance the eerie ambiance of your neon sign, consider incorporating special effects like flickering lights or glowing elements. These effects can be achieved by using dimmers or controllers designed specifically for neon signs.

Remember, designing your own Halloween neon sign allows you to unleash your creativity and personalize every aspect of its appearance. Take inspiration from various sources, but don't be afraid to put your unique spin on it!

Design Inspiration and Tips

When it comes to designing your Halloween neon sign, drawing inspiration from the spooky atmosphere of the holiday is key. Here are some tips and ideas to help you create a captivating and eerie design:

Color Selection Tips

Choosing the right colors for your Halloween neon sign is crucial in setting the desired spooky ambiance. Consider these tips when selecting colors:

  1. Evoke a Halloween atmosphere: Opt for colors that are commonly associated with Halloween, such as deep purples, blood reds, ghostly whites, or sinister blacks. These colors instantly create a haunting vibe.

  2. Use contrasting colors: To ensure better visibility and make your neon sign stand out, incorporate contrasting colors. For example, pair a vibrant orange with a dark background or combine green and purple for an eye-catching effect.

  3. Experiment with color combinations: Don't be afraid to get creative and try different color combinations. Play around with shades and hues until you find a combination that perfectly captures the spooky essence of Halloween.

Creative Halloween Symbols

Incorporating popular Halloween symbols into your neon sign design can add an extra touch of spookiness. Consider these creative ways to represent Halloween themes:

  1. Bats: Include silhouettes or outlines of bats flying across your neon sign to create a sense of mystery and darkness.

  2. Witches: Incorporate witch hats or broomsticks into your design to evoke images of spellcasting and magic.

  3. Pumpkins: Use pumpkin shapes or jack-o'-lantern faces to symbolize the iconic Halloween tradition of carving pumpkins.

  4. Spiders and webs: Add spiderwebs or crawling spiders to give your neon sign a creepy-crawly feel.

Remember, these are just starting points for inspiration; feel free to explore other Halloween symbols that resonate with you personally. Let your imagination run wild as you bring these elements together in your unique design!

Popular Halloween Neon Sign Designs

When it comes to popular Halloween neon sign designs, two themes that stand out are haunted houses and creepy crawlers. Let's explore these designs and gather some inspiration for your own spooky creations:

Haunted House

Haunted house designs for Halloween neon signs are incredibly popular due to their eerie and captivating nature. Consider the following tips when creating a hauntingly beautiful neon sign featuring a haunted house:

  1. Silhouette or detailed design: Decide whether you want a simple silhouette of a haunted house or a more intricate design with windows, doors, and other spooky details.

  2. Ghostly glow: Use ghostly white or pale blue neon lights to give your haunted house an ethereal glow that adds to its mysterious allure.

  3. Flickering effect: Incorporate a flickering effect in certain areas of the neon sign to mimic the appearance of candlelight flickering in the windows of a haunted house.

  4. Bat silhouettes: Add bat silhouettes flying around the haunted house to enhance the spooky atmosphere.

Creepy Crawlers

Creepy crawlers like spiders and snakes can create a spine-chilling effect when incorporated into Halloween neon signs. Here are some ideas for incorporating these creatures into your design:

  1. Spiderwebs: Use neon lights to create intricate spiderweb patterns, with spiders crawling along them for an extra touch of creepiness.

  2. Snake silhouettes: Incorporate snake silhouettes slithering across your neon sign, giving it an unsettling vibe.

  3. Glowing eyes: Add glowing eyes to your spider or snake designs using small LED lights, making them appear even more menacing.

Remember, these popular Halloween neon sign designs serve as inspiration for your own unique creations. Feel free to adapt and personalize them according to your vision and style!

Let Your Halloween Decor Shine

Ignite your creativity and make your Halloween decor shine with the addition of eye-catching DIY Halloween neon signs. These spooky neon signs will add a unique and captivating flair to your decorations, making them stand out from the crowd. With the step-by-step guides, design inspiration, and tutorials provided in this blog post, you have all the tools you need to create your own mesmerizing Halloween neon signs.

Embrace the process of DIY Halloween neon sign creation and enjoy every moment of bringing your ideas to life. Let your imagination run wild as you incorporate spooky colors, creative symbols, and special effects into your designs. Whether you're a DIY enthusiast or an artist looking for a new project, these Halloween neon sign ideas are sure to spark your creativity and make your Halloween decor truly unforgettable.

About US

Follow Us

Rebow was founded in 2014 which is a company dedicated to creating high-end neon art in the world.With over 5000 square meters dust-free workshop, automatic production lines, modernized equipments and 100 employees,20 engineers, 30QC etc.qualitified work team.

Address

Address:1608,Unit C,No.37,west gemstone road,longteng community ,shiyan street ,bao an district ,shenzhen,China

Contacts
WhatsApp:008615970364397