Neon Sign Magic: Transforming Events with Flower Wall DIY
Welcome to the enchanting world where neon signs and flower walls collide, creating a mesmerizing spectacle for events. Imagine the allure of vibrant neon lights dancing amidst a backdrop of lush flowers, transforming any event space into a magical realm. This DIY project is not just about decoration; it's about crafting an unforgettable experience that captivates all who enter. Get ready to embark on a journey filled with creativity, color, and endless possibilities!
Understanding the Flower Wall
What is a Flower Wall?
Flower walls, like DIY Flower Walls, are more than just decorative backdrops. They are meticulously crafted pieces that bring warmth and vibrancy to any event space. Each petal is delicately cut, curled, and glued by hand to create a natural look. Imagine approximately 240-265 flowers in various sizes coming together to form a stunning display of color and texture. These walls serve as customizable backgrounds, offering a budget-friendly alternative to traditional floral arrangements.
Define a flower wall and its uses.
A Casablanca Flower Wall exemplifies elegance with its all-white floral backdrop made of roses and hydrangeas. This type of flower wall is designed to create a striking setting for special occasions. The versatility of flower walls allows them to be tailored to different themes and styles, adding an enchanting touch to weddings, parties, or corporate events.
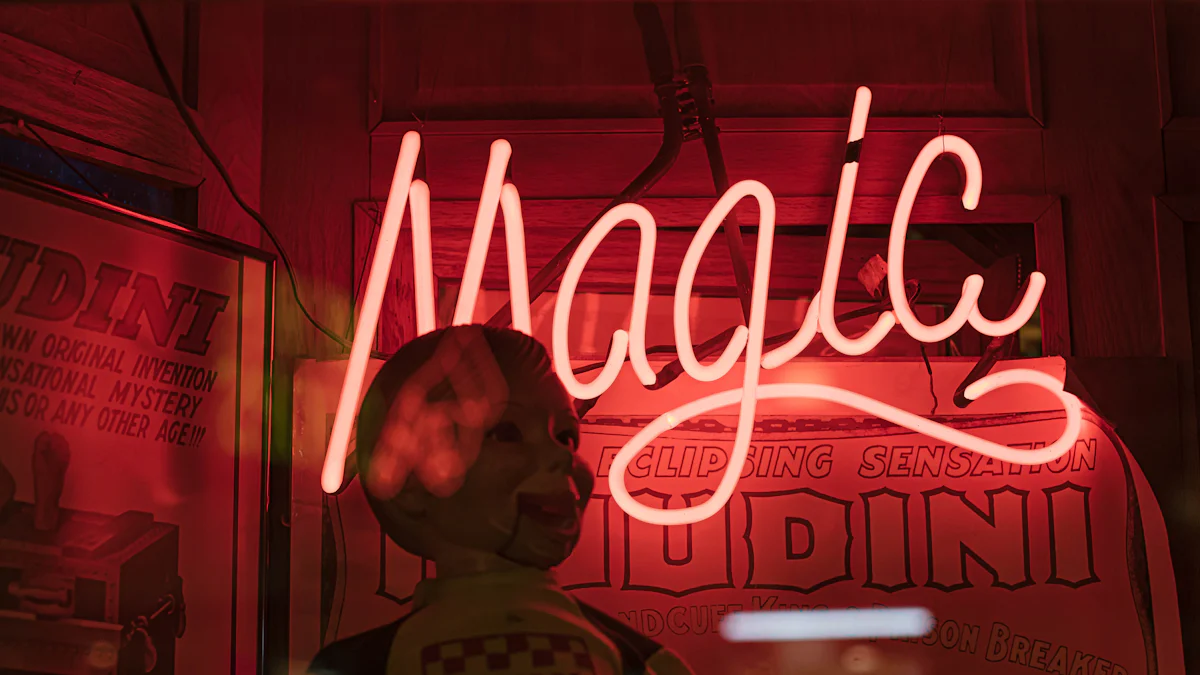
Mention the appeal of a flower wall with neon sign.
Pairing a flower wall with neon signs elevates the ambiance of any event space. The combination adds an element of modern sophistication while maintaining a whimsical charm. Picture the soft glow of neon lights illuminating delicate petals, creating a captivating contrast between nature-inspired beauty and contemporary design.
Tools and Materials Needed
To embark on your DIY flower wall journey, you'll need essential tools and materials that ensure both safety and creativity.
List essential tools and materials.
Paper Flower Wall: Handcrafted paper flowers provide a natural aesthetic.
Faux Flowers: Choose from various colors and types for customization.
Boxwood Panels: Create depth and texture in your floral backdrop.
Velcro Strips: Secure flowers in place without damaging surfaces.
LED Neon Lights: Add vibrancy and illumination to your creation.
Highlight the importance of safety.
When working with tools like scissors or glue guns, prioritize safety measures such as wearing protective gear like gloves or goggles. Ensure proper ventilation in your workspace when using adhesives or paints to prevent health hazards.
DIY Faux Flower Wall

Preparing Your Space
As you embark on the journey of creating your DIY Faux Flower Wall, the first step is to meticulously measure and plan the space where your masterpiece will come to life. Ensuring that you have the right dimensions will guarantee a seamless fit and a visually appealing result. Think of it as setting the stage for a floral symphony to unfold in all its glory.
Measure and plan the space for your flower wall.
To begin, grab your measuring tape and carefully assess the area where you envision your Flower Wall blooming. Consider the height and width you desire, allowing room for creativity while ensuring it complements the event space perfectly. This initial planning sets the foundation for a stunning display that will captivate all who behold it.
Discuss the importance of choosing the right location.
Selecting the ideal location for your Faux Flower Wall is crucial in enhancing its impact. Whether it's against a backdrop of lush greenery outdoors or as a focal point indoors, strategic placement can elevate the ambiance of any event. Consider factors like lighting, traffic flow, and overall aesthetics when deciding on the perfect spot.
Constructing the Flower Wall
Now comes the exciting part – bringing your vision to life by constructing your very own Flower Wall masterpiece. With each petal placed thoughtfully, you'll witness a transformation that goes beyond mere decoration. Let's dive into crafting this enchanting feature step by step.
Step-by-step guide on constructing the flower wall.
Begin by assembling your materials – from faux flowers to boxwood panels – laying them out like an artist's palette ready to create magic. Follow a systematic approach, starting from one corner and working your way across, ensuring each element fits seamlessly together. This methodical process guarantees a cohesive design that exudes elegance and charm.
Tips on using faux flowers and boxwood panels.
When working with faux flowers, consider mixing different colors and textures to add depth and visual interest to your creation. Experiment with various arrangements until you find the perfect balance between vibrancy and harmony. Incorporating boxwood panels can provide a lush backdrop that complements the floral elements beautifully, adding an extra layer of sophistication.
Adding the Finishing Touches
To truly elevate your Faux Flower Wall from beautiful to breathtaking, attention to detail is key. The finishing touches are where you infuse personality and style into your creation, making it uniquely yours.
How to make your flower wall look lush and full.
Achieving a luscious appearance involves layering flowers strategically, creating dimension and fullness that mimics nature's abundance. Play with different flower sizes and shapes to craft a dynamic composition that draws admiration from every angle.
Mention the use of faux flower wall backdrop for added effect.
Consider incorporating additional elements such as twinkling lights or cascading vines into your Faux Flower Wall backdrop for an enchanting touch. These subtle additions can enhance the overall ambiance of any event space, transforming it into a whimsical wonderland that leaves lasting impressions.
DIY Neon Sign
Creating Your Neon Sign
Embarking on the journey of creating your DIY Neon Sign is a thrilling endeavor that allows you to infuse your personal touch into your event decor. Let's delve into the step-by-step process of bringing this luminous masterpiece to life.
Step-by-step guide on making a DIY neon sign:
Design Selection: Begin by choosing a design that resonates with your event theme or personal style. Whether it's a whimsical mushroom neon sign or a retro-inspired the 1975 neon sign, let your creativity shine through.
Materials Gathering: Collect the necessary materials such as LED light strips, acrylic backing, and power source. Ensure you have all components ready before diving into the crafting process.
Cutting and Assembling: Carefully cut the LED light strip to the desired length, following the outline of your chosen design. Then, attach the strip to the backing material using adhesive or clips, securing it in place.
Testing and Adjusting: Once assembled, test the neon sign to ensure proper illumination and functionality. Make any necessary adjustments to enhance its visual impact.
Tips on choosing the right design (e.g., mushroom neon sign, the 1975 neon sign):
Personalization: Opt for a design that reflects your personality or event theme for a truly bespoke touch.
Visibility: Consider the size and font style of your neon sign to ensure optimal visibility from various angles within your event space.
Attaching the Neon Sign
Now that your dazzling Neon Sign is ready, it's time to securely attach it to your flower wall masterpiece. Proper installation ensures that your creation shines bright throughout your event.
How to securely attach the neon sign to the flower wall:
Positioning Planning: Decide on the ideal placement of your neon sign on the flower wall for maximum visual impact. Consider factors like lighting and focal points when determining its position.
Attachment Techniques: Utilize clear fishing line or floral wire to secure the neon sign in place without obstructing its glow. These transparent materials blend seamlessly with both flowers and lights.
Tips on using clear fishing line or floral wire:
Inconspicuous Support: Clear fishing line offers sturdy support while maintaining an invisible appearance against both flowers and neon lights.
Flexible Fastening: Floral wire provides flexibility in positioning and adjusting the placement of your neon sign as needed throughout your event.
Lighting Up Your Event
As you connect your radiant neon sign to a power source, anticipation builds for an illuminating experience that will captivate all attendees at your event.
Connecting the neon sign to a power source:
Ensure seamless connectivity by carefully linking your DIY creation to a reliable power source using appropriate adapters or extension cords.
Ensuring the neon sign is safely installed:
Prioritize safety by double-checking all connections and ensuring that wires are neatly tucked away from foot traffic areas. Regularly inspect its stability during the event to prevent any mishaps.
Integration and Styling Tips

Styling Your Flower Wall
When it comes to integrating your enchanting Flower Wall with the overall event decor, creativity knows no bounds. Picture a seamless blend of natural beauty and artistic flair, where each petal harmonizes with the surrounding elements to create a visual symphony. To achieve this cohesive look, consider the following tips:
Mix and Match Textures: Combine different floral textures with elements like Black Table Linens or Champagne Sequin Sweetheart Table for a captivating contrast that adds depth to your design.
Play with Colors: Experiment with a palette that complements your event theme, whether it's vibrant hues for a lively celebration or pastel tones for an elegant affair.
Incorporate Lighting Effects: Enhance the ambiance by strategically placing LED lights near your flower wall to create a soft, romantic glow that captivates guests.
Marrying the allure of nature with the sophistication of modern design, your flower wall will serve as a stunning focal point that elevates the entire event experience. From weddings to parties, this versatile decor piece promises to leave a lasting impression on all who behold its beauty.
Making It Personal
Adding a touch of personality to your Flower Wall is where true artistry shines. Infuse your creation with unique touches that reflect your individual style and vision. Here are some ideas to make your floral masterpiece truly one-of-a-kind:
Customized Signage: Incorporate personalized signage within your flower wall design, featuring initials or quotes that hold special meaning for you.
Geometric Accents: Integrate geometric shapes or patterns into the arrangement for a modern twist that catches the eye and sparks conversation.
Whimsical Elements: Embrace whimsy by adding unexpected details like hanging ornaments or cascading ribbons that infuse playfulness into the design.
By infusing personal touches into your flower wall creation, you transform it from a decorative backdrop into a storytelling centerpiece that reflects your sensibility, taste, and style. Let your imagination run wild as you craft an unforgettable experience for yourself and your guests.
In a nutshell, crafting a DIY flower wall with a captivating neon sign involves meticulous planning and creative flair. From measuring the space to assembling the floral masterpiece, each step is an opportunity to infuse your event with personalized charm. Don't hesitate to embark on this fun and imaginative project; the results will surely dazzle your guests. Share your floral creations with us and let your decor skills bloom!
See Also
Creating a United Neon Sign: Methods and Pointers
Do It Yourself Neon Sign: Light Up Your Area with a Personalized LED Design
Making Personalized Neon Signs: Key DIY Manual
Homemade Neon Sign Creations: Customized House Ornament Concepts
Do It Yourself Neon Sign: The Best Manual for Wedding Decoration

About US
Follow Us
Rebow was founded in 2014 which is a company dedicated to creating high-end neon art in the world.With over 5000 square meters dust-free workshop, automatic production lines, modernized equipments and 100 employees,20 engineers, 30QC etc.qualitified work team.
Address
Address:1608,Unit C,No.37,west gemstone road,longteng community ,shiyan street ,bao an district ,shenzhen,China
Contacts
sales02@rebowsigns.com
WhatsApp:+86 18038005211