Easy DIY Neon Sign Guide: Illuminate Your Space Creatively

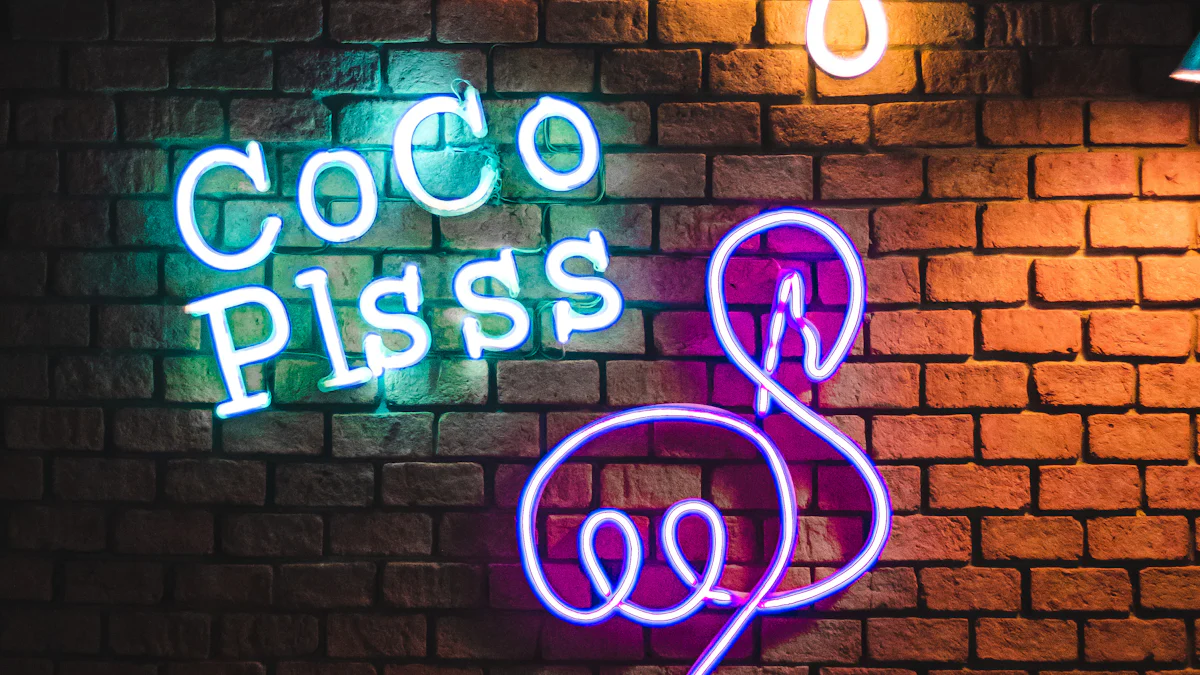
Are you ready to brighten up your space with a touch of creativity? Dive into the world of DIY neon signs using EL wire! This project is not only fun and exciting but also ideal for beginners looking to add a personalized flair to their surroundings. Discover the cost-effectiveness and endless customization options that set this apart from an ordinary amazon neon sign.
Tools and Materials

What You Need
When embarking on your DIY neon sign project, ensure you have the essential materials ready to bring your creative vision to life. Here's a handy checklist to get you started:
EL wire: Choose from a variety of vibrant colors like Red, Blue, or even Neon Green to suit your style.
Power source: Make sure you have the necessary batteries or electrical hook-up wire to power up your glowing creation.
Wire cutters: These tools will come in handy for precise cutting and shaping of the EL wire.
Adhesive: Select a reliable adhesive to securely attach the EL wire to your chosen surface, whether it's wood, plastic, or another material.
Before diving into your project, consider where you can source these items. Online stores offer a wide selection of EL wires in different colors and lengths, ensuring you find the perfect fit for your design. Alternatively, local shops may also carry EL wires along with other supplies like LED Neon strips or 21 AWG wire for additional customization options.
Choosing Your EL Wire
Exploring the world of EL wires opens up a realm of possibilities for your DIY neon sign. Delve into the following considerations as you select the perfect EL wire for your project:
Color Variety: From striking shades like Hot Pink to more subtle hues like Gray Blue, choose an EL wire color that resonates with your aesthetic preferences.
Length Options: Depending on the size and complexity of your design, opt for varying lengths of EL wire to ensure seamless integration into your creation.
As you compare different colors and lengths, envision how each choice will contribute to the overall look and feel of your DIY neon sign. Embrace the versatility of EL wires as they offer a unique twist compared to a traditional fake neon sign.
Step-by-Step Guide
Design Your Sign
When it comes to designing your neon sign, the first step is to unleash your creativity on paper. Sketching out your design allows you to visualize how the EL wire will bring your creation to life. Imagine the vibrant glow and play with different shapes and fonts to make your sign truly unique. If you're feeling stuck, consider using a name neon sign as inspiration. Personalizing your design can add a special touch that reflects your style and personality.
Cutting and Shaping the Wire
Now that you have your design ready, it's time to bring it into reality by cutting and shaping the EL wire. Carefully measure and cut the wire to match the contours of your sketch. Remember, precision is key to achieving a polished look. When bending the wire, do so gently and gradually to avoid any kinks or breaks. Shaping the wire smoothly will ensure that it follows your design seamlessly, creating a professional finish that shines bright.
Attaching the Wire
With your wire cut and shaped, it's time to attach it to your chosen surface. Using a reliable adhesive, carefully secure the EL wire along the outlines of your design. For added durability, consider mounting the wire on a sturdy backing like wood or plastic. This not only enhances the visual impact of your neon sign but also ensures its longevity for you to enjoy for years to come.
Connecting the Power Source
Now, let's power up your creative masterpiece! Connecting the EL wire to the power source is a crucial step in bringing your DIY neon sign to life. Here's a simple guide to help you illuminate your space:
Guide on connecting the EL wire to the power source
To begin, ensure you have the necessary batteries or power supply ready. Most EL wires are powered by batteries, making them convenient for various display locations. Start by identifying the positive and negative terminals of both the EL wire and the power source. Connect these terminals securely, ensuring a snug fit to avoid any flickering or dimming issues.
Provide safety tips for handling electrical components
When working with electrical components, safety should always be a top priority. Remember to handle the wires and connections with care to prevent any damage or short circuits. Avoid exposing the wiring to moisture or extreme temperatures that could affect its performance. Additionally, double-check all connections before turning on your neon sign to guarantee a safe and successful lighting experience.
Testing Your Sign
Displaying Your Sign

Where to Place It
Wondering where to showcase your dazzling DIY neon sign masterpiece? The possibilities are endless! Consider adding a touch of luminosity to your bedroom, creating a cozy and inviting ambiance for relaxation. Alternatively, brighten up your workspace with a vibrant glow that sparks creativity and motivation. Have you thought about surprising a loved one with a personalized gift? A custom-made neon sign is not only unique but also carries sentimental value, making it a memorable present for any occasion.
Maintaining Your Sign
To ensure your neon sign remains in top-notch condition, follow these simple maintenance tips. Regularly dust the EL wire gently with a soft cloth to keep it clean and free from debris that may dim its radiance. Avoid using harsh chemicals or abrasive materials that could damage the delicate wire coating. When comparing the durability of your DIY creation to an amazon neon sign, take pride in the craftsmanship and care you've invested in making it truly yours. With proper upkeep, your DIY neon sign will continue to illuminate your space with personality and flair.
In a nutshell, crafting your own DIY neon sign is a delightful journey filled with endless possibilities. Why not dive into this luminous world and unleash your creativity? Give it a try, and don't forget to share your glowing masterpieces with friends! The joy of bringing something truly unique and personal to life is an experience like no other. Illuminate your space with a touch of personality and watch as your creation shines bright!
See Also
Creating Personalized Neon Signs: DIY LED Illumination Projects
Designing Personalized Neon Signs: Must-Have DIY Tips
Designing Personalized Neon Signs: Space Customization Tips

About US
Follow Us
Rebow was founded in 2014 which is a company dedicated to creating high-end neon art in the world.With over 5000 square meters dust-free workshop, automatic production lines, modernized equipments and 100 employees,20 engineers, 30QC etc.qualitified work team.
Address
Address:1608,Unit C,No.37,west gemstone road,longteng community ,shiyan street ,bao an district ,shenzhen,China
Contacts
sales02@rebowsigns.com
WhatsApp:+86 18038005211
