Crafting a Welcoming Entrance: DIY Neon Sign Guide
Neon signs have captivated many with their vibrant allure and retro charm, becoming a staple in modern decor. Affordable Neon Signs offer a personalized touch, transforming spaces into lively showcases of creativity. Personally, stumbling upon a welcome neon sign sparked a fascination for custom neon lights signs, igniting a passion for crafting. This blog aims to empower readers to embark on their DIY journey, creating unique neon sign decor pieces that illuminate both homes and hearts.
Materials Needed
Essential Tools
To embark on the journey of crafting your own neon sign, you will need a set of essential tools. These tools play a crucial role in ensuring the successful creation of your personalized neon masterpiece. Here is a list of tools required for making a neon sign:
Craft Knife: This tool is essential for precise cutting and shaping of the LED neon flex strips.
Cutting Mat: A cutting mat provides a safe and stable surface for cutting the neon flex strips without damaging your work area.
Measuring Tape: Accurate measurements are key to creating a well-proportioned and visually appealing neon sign.
Hot Glue Gun: The hot glue gun helps in securely attaching the LED neon flex strips to the backing material.
Wire Strippers: These are necessary for stripping and preparing wires for proper electrical connections.
Each tool serves a specific purpose in the crafting process, contributing to the overall quality and durability of your DIY neon sign project.
LED Neon Flex Strips
Understanding LED neon flex strips is fundamental to creating an eye-catching custom neon sign. These flexible lighting solutions offer several advantages over traditional glass neon tubes:
Flexibility: LED neon flex strips can be bent and shaped to fit various design ideas, allowing for intricate patterns and shapes.
Energy Efficiency: Compared to traditional neon lights, LED neons consume less power, making them more energy-efficient and cost-effective.
Durability: LED neons are sturdier and more resistant to breakage than fragile glass tubes, ensuring longevity in your signage.
By opting for LED neon flex strips, you not only enhance the visual appeal of your creation but also benefit from their practicality and longevity.
Additional Supplies
In addition to essential tools, there are other supplies necessary for bringing your DIY neon sign to life. These additional materials complement the tools and contribute to a smooth crafting process:
Shaping Wire
Plastic Wire Clips
While these supplies aid in assembling your custom neon sign, it's crucial to consider safety precautions throughout the crafting journey. Prioritize safety by wearing protective gear like gloves and goggles when handling materials or using tools to ensure a secure and enjoyable crafting experience.
Design and Planning
Choosing Your Design
When embarking on the creative journey of crafting a custom LED neon sign, selecting the right design is paramount. The design sets the tone for your space, conveying a message or adding a touch of personality. To ensure your neon sign resonates with its surroundings, consider these insightful tips:
Space Compatibility: Assess the dimensions and ambiance of the area where you intend to display your neon sign. Choose a design that complements the existing decor and enhances the overall aesthetic appeal.
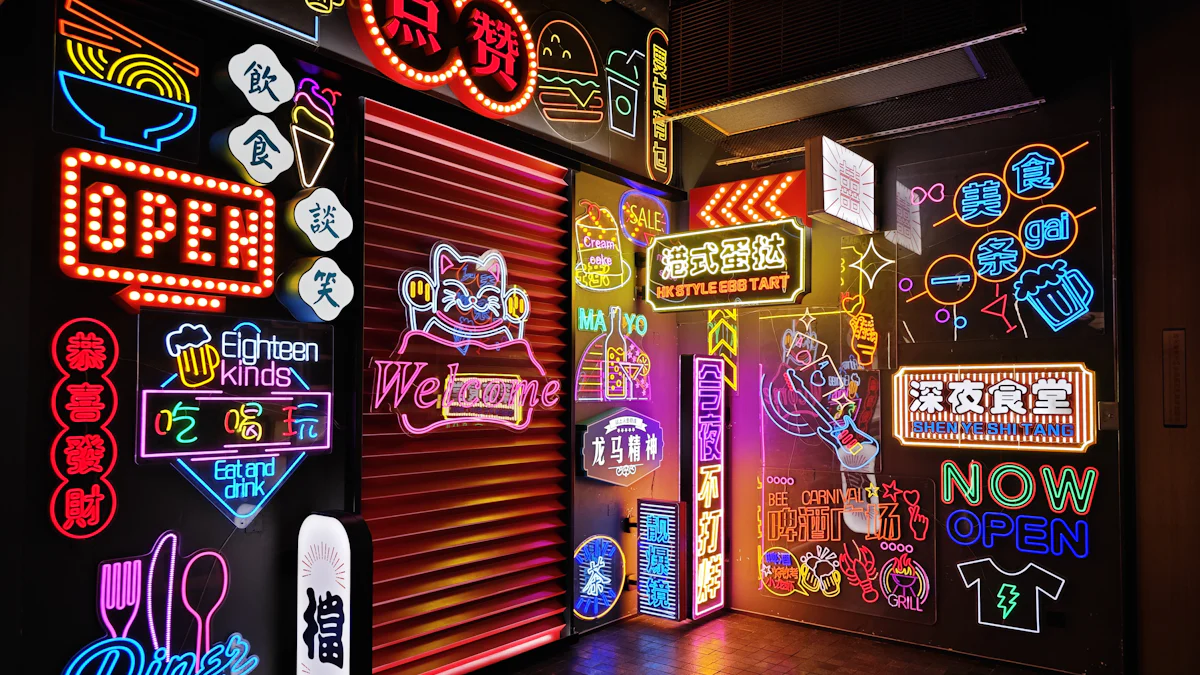
Color Psychology: Delve into the psychology of colors to evoke specific emotions or create a particular atmosphere. For instance, warm tones like red or orange can exude energy and passion, while cool hues like blue or green promote calmness and tranquility.
Personalization: Infuse your personality into the design by opting for custom elements such as favorite quotes, symbols, or motifs. This personal touch adds uniqueness and meaning to your neon creation.
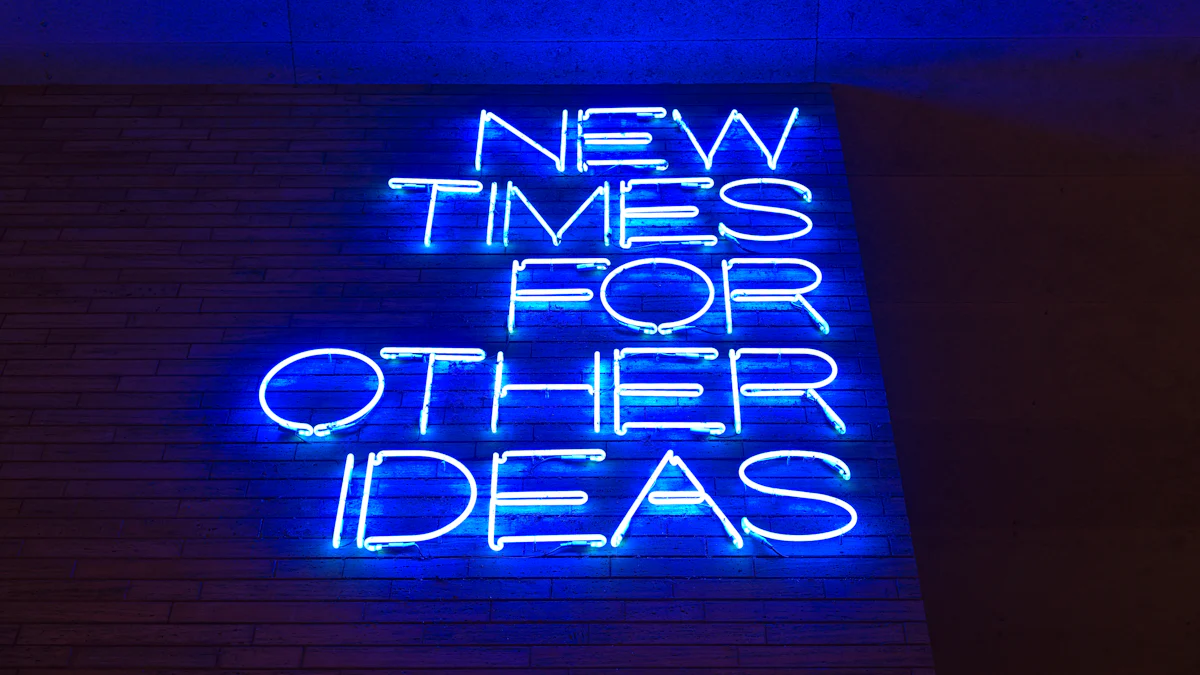
When it comes to design inspiration, popular choices like a welcoming neon sign, a classic Texas-themed neon piece, or even a whimsical animal-shaped sign can spark creativity. Drawing from successful brands leveraging LED neons for impactful signage can offer valuable insights into effective color strategies and brand recognition techniques.
Customizing Your Sign
The beauty of creating a DIY LED neon sign lies in its potential for customization. Tailoring your sign to reflect your style and preferences ensures a truly unique piece of art that speaks volumes about your taste. Here's how you can personalize your neon creation:
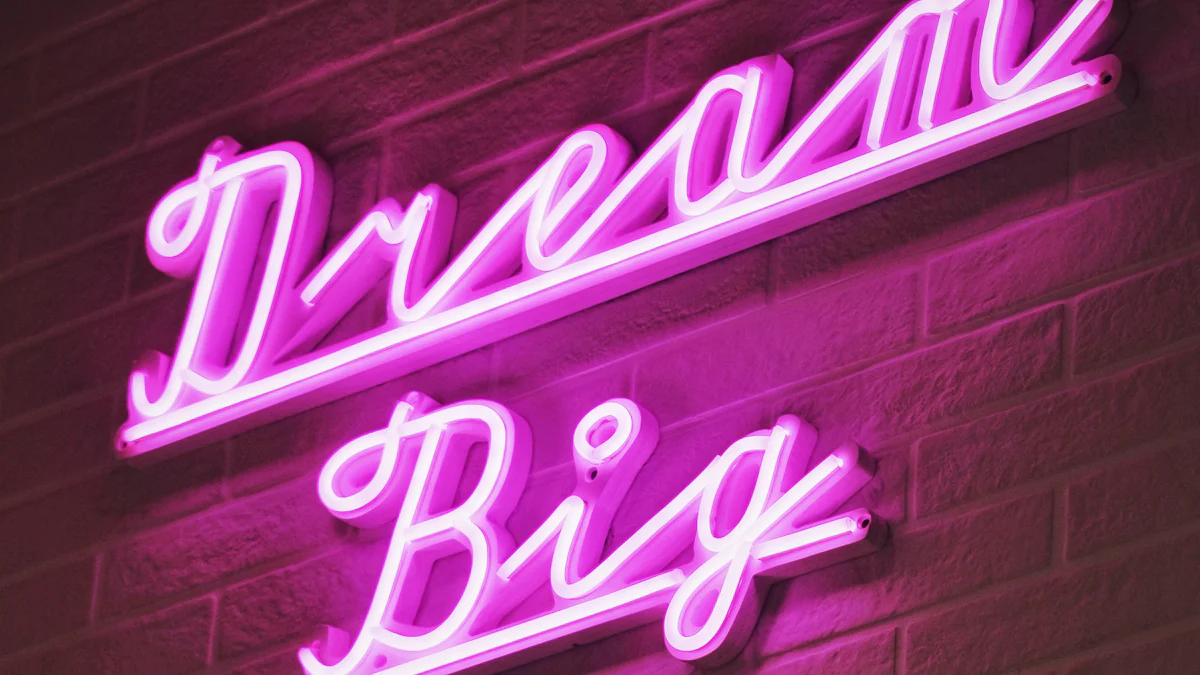
Font Selection: Experiment with different fonts to find one that aligns with the message you wish to convey. Whether it's bold and modern or elegant cursive script, the font choice plays a significant role in defining the overall look of your sign.
Size Matters: Consider the dimensions of your space when determining the size of your neon sign. A well-proportioned sign enhances visibility and impact without overwhelming its surroundings.
Message Clarity: Ensure clarity in your design by focusing on legibility. Opt for clear lettering and spacing to guarantee that your message is easily understood at a glance.
By customizing every aspect of your LED neon creation, from color schemes to intricate details, you transform it into an extension of yourself—a visual representation of your unique identity.
Creating a Template
Before diving into shaping LED neon flex strips and bringing your vision to life, creating a template is essential for precision and accuracy in construction. Follow these steps to craft a template tailored to your design:
Design Drafting: Begin by sketching out your desired design on paper or using digital software for more intricate patterns.
Material Selection: Choose suitable backing material such as clear acrylic or wood based on durability and aesthetic preferences.
Size Calibration: Utilize a neon sign size chart for reference when transferring measurements onto the template material, ensuring consistency in proportions.
By meticulously planning each step in creating your custom LED neon sign—from initial concept selection through detailed customization—your end result will be not just an illuminated artwork but an expression of creativity brought to light.
Crafting the Neon Sign
Shaping the LED Neon Flex Strips
When it comes to shaping the LED neon flex strips for your custom sign, mastering the techniques is key to achieving a flawless design. Begin by carefully planning the bends and curves that will bring your creation to life. Here are some essential techniques to consider:
Bending Methods: Utilize tools like a heat gun or bending pliers to create smooth and precise bends in the neon flex strips. Take your time to ensure each bend aligns with your design vision.
Curving Tips: For curved sections, gently guide the strip along the desired path, avoiding sharp angles that may compromise the flexibility of the LED neon. Patience is crucial in achieving elegant curves.
To add a personal touch to your shaping process, consider these tips shared by experienced crafters:
"Experiment with different bending angles to see how light interacts with various shapes, creating unique patterns and effects."
"Practice on spare pieces of neon flex before working on your main design to perfect your technique and avoid mistakes."
Attaching the Strips
Securing the LED neon strips onto the backing material requires precision and attention to detail. Proper attachment ensures longevity and stability for your neon sign display. Follow these steps for a seamless attachment process:
Surface Preparation: Clean and dry the surface where you plan to mount your neon sign. Ensure it is free from dust or debris that could affect adhesion.
Adhesive Application: Use a strong adhesive suitable for both the backing material and LED neon strips. Apply an even layer of adhesive along the back of each strip before pressing firmly onto the surface.
Strap Support: For added security, consider using zip ties or straps to reinforce the attachment of longer sections of LED neon flex strips.
To guarantee that your neon strips remain securely fastened over time, periodically inspect their adherence and make any necessary adjustments promptly.
Wiring and Powering
Navigating the wiring process is a critical step in bringing your DIY neon sign to luminous life while prioritizing safety measures throughout. Follow these guidelines for efficient wiring and safe power management:
Connection Setup: Begin by carefully connecting each LED neon strip according to manufacturer instructions, ensuring proper alignment of positive (+) and negative (-) terminals.
Power Source Placement: Position your power source strategically, considering accessibility for maintenance and minimizing visible wiring for aesthetic purposes.
When dealing with electrical components, remember these safety tips:
"Always disconnect power before making adjustments or repairs to prevent electrical hazards."
"Avoid overloading circuits by distributing power sources evenly among multiple signs if applicable."
By approaching wiring with caution and respect for electrical principles, you can illuminate your space with a dazzling custom neon sign while prioritizing safety every step of the way.
Installation and Display
Mounting Your Sign
When it comes to mounting your custom neon sign, there are various methods to consider based on your space and design. Different methods for mounting your neon sign can include options like wall mounting using brackets or stand-alone bases for countertop displays. Each method offers unique advantages in terms of visibility and aesthetic appeal.
To ensure your neon sign stands out effectively, choosing the best location is crucial. Consider factors such as lighting conditions, background contrast, and foot traffic flow when deciding where to place your neon creation. Optimal positioning can maximize the impact of your sign and create a focal point that draws attention.
Display Ideas
Exploring creative ways to display your DIY neon sign opens up a world of possibilities for enhancing any environment. From home decor settings to special occasions like weddings, the versatility of neon signs allows for imaginative placements that elevate the ambiance.
Consider incorporating your neon sign into themed events or room makeovers to add a personalized touch. For weddings, a custom neon sign with the couple's names can serve as a stunning backdrop for photos. In home decor, neon signs can illuminate cozy corners or accentuate gallery walls with a pop of color and personality.
By experimenting with different display ideas and observing how light interacts with various settings, you can unlock the full potential of your custom neon creation in transforming spaces into vibrant showcases of individuality.
In wrapping up this illuminating journey of crafting your very own neon sign, it's time to reflect on the creative process. From selecting the perfect design to shaping and attaching the LED neon flex strips, each step has been a testament to your artistic flair. Now, embrace the opportunity to bring your vision to life and watch as your space transforms with a personalized touch of radiance. Share your glowing creations with the world, inspiring others to embark on their DIY neon sign adventures.
See Also
Creating Personalized Neon Signs: DIY Essentials
Crafting Personalized Neon Signs: Essential DIY Tips
Crafting Custom Neon Signs: DIY Essentials

About US
Follow Us
Rebow was founded in 2014 which is a company dedicated to creating high-end neon art in the world.With over 5000 square meters dust-free workshop, automatic production lines, modernized equipments and 100 employees,20 engineers, 30QC etc.qualitified work team.
Address
Address:1608,Unit C,No.37,west gemstone road,longteng community ,shiyan street ,bao an district ,shenzhen,China
Contacts
sales02@rebowsigns.com
WhatsApp:+86 18038005211