Crafting a Unique Neon Sign: Your DIY Guide

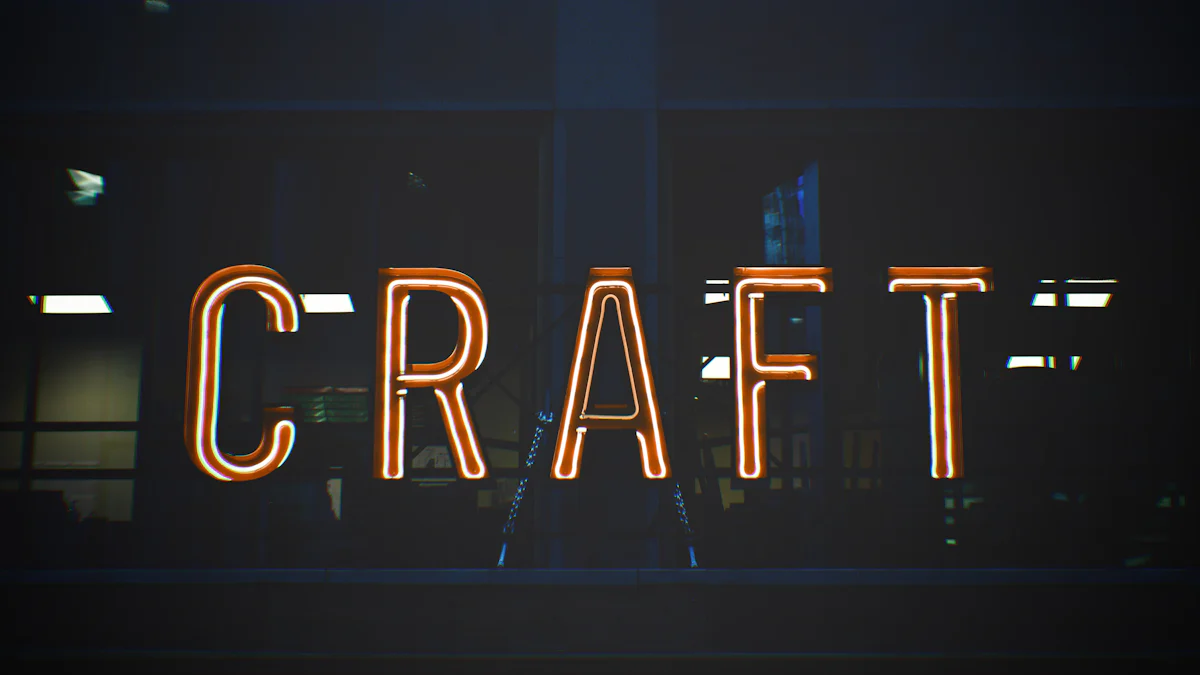
Neon signs have a captivating history, illuminating urban landscapes with their vibrant hues and nostalgic charm. As businesses embrace the allure of neon signs, these luminous creations have evolved into an art form, offering customizable options that digital displays cannot match. Personally, the idea of crafting my own custom neon sign stemmed from a desire to infuse my space with a unique touch of creativity and personality. The process not only allows for self-expression but also results in a one-of-a-kind masterpiece.
Choosing Your Design
When embarking on the journey of creating your custom neon sign, the first crucial step is to choose a design that resonates with your style and vision. Let's delve into the essential aspects of this creative process:
Identify Your Style
Before diving into the specifics of your DIY LED neon sign, take a moment to reflect on your brand's core values and unique attributes. As Expert Design Consultants emphasize, "many businesses offer custom neon sign designs to suit your brand and style." Understanding what sets your brand apart will guide you in selecting a design that truly represents your identity. Whether it's a logo, slogan, or symbol, ensure that your choice aligns with the essence of your brand.
Sketch Your Design
Creating a clear and detailed design sketch is fundamental to bringing your neon sign to life. Expert Design Consultants highlight, "If however, you decide that you want something even more custom than what we offer... any shape, any size, any color combination -- if you can imagine it, we can probably help you create it in new neon." Sketching allows you to visualize the final product, ensuring that every detail is meticulously planned out before moving on to production.
Select Colors
The color palette of your LED neon sign plays a significant role in conveying the desired message and ambiance. When choosing colors for your sign, consider the emotions and associations each hue evokes. Opt for shades that not only complement your brand but also resonate with your vision for the final product. Remember, colors have the power to evoke specific feelings and leave a lasting impression on viewers.
By carefully considering these factors during the design phase of your custom neon sign, you set the foundation for a visually striking and meaningful creation.
Materials and Tools
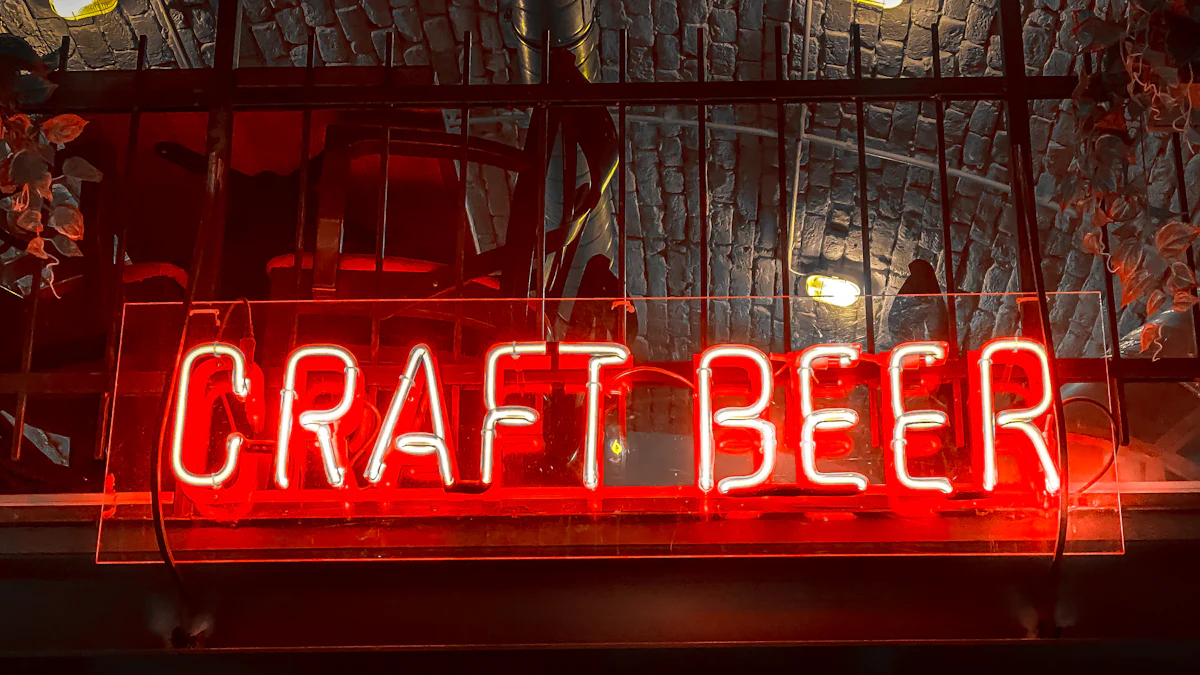
As you venture into the practical realm of bringing your DIY LED neon sign to life, the significance of selecting the right materials and tools cannot be overstated. Let's delve into the essential components that will shape your creation:
Gather Your Materials
To begin your neon sign crafting journey, you'll need a selection of key materials to ensure a successful outcome. Here's a comprehensive list to guide you through the process:
LED Neon Flex Strips: The foundation of your neon sign, these flexible strips offer versatility and durability.
Electrodes: Essential for creating the electrical circuit within your neon sign, ensuring it lights up flawlessly.
Backing Material: Choose a sturdy backing material like clear acrylic or wood to provide support and enhance aesthetics.
Required Tools
Equipping yourself with the right tools is crucial for executing each step of the neon sign creation process effectively. Here are the tools you'll need in your arsenal:
Shaping Wire: Utilize shaping wire to mold and sculpt your LED neon flex strips into intricate designs.
Zip Ties: These handy fasteners will help secure various components in place during assembly.
Plastic Wire Clips: Use plastic wire clips to neatly organize and manage the wiring within your neon sign.
Safety First
When working with electrical components like LED lights and electrodes, prioritizing safety measures is paramount. Here are some precautions to keep in mind throughout your DIY project:
"LED Neon is a safer, more affordable, and more environmentally friendly option than traditional glass neon."
Ensure all power sources are switched off before handling any electrical components.
Avoid exposing LED neon lights to moisture or extreme temperatures to prevent damage.
Use caution when manipulating electrodes to prevent any accidental shocks or short circuits.
By adhering to these safety guidelines and assembling your materials and tools thoughtfully, you're laying down a solid foundation for creating a stunning custom neon sign that reflects your unique vision.
Assembling Your Neon Sign
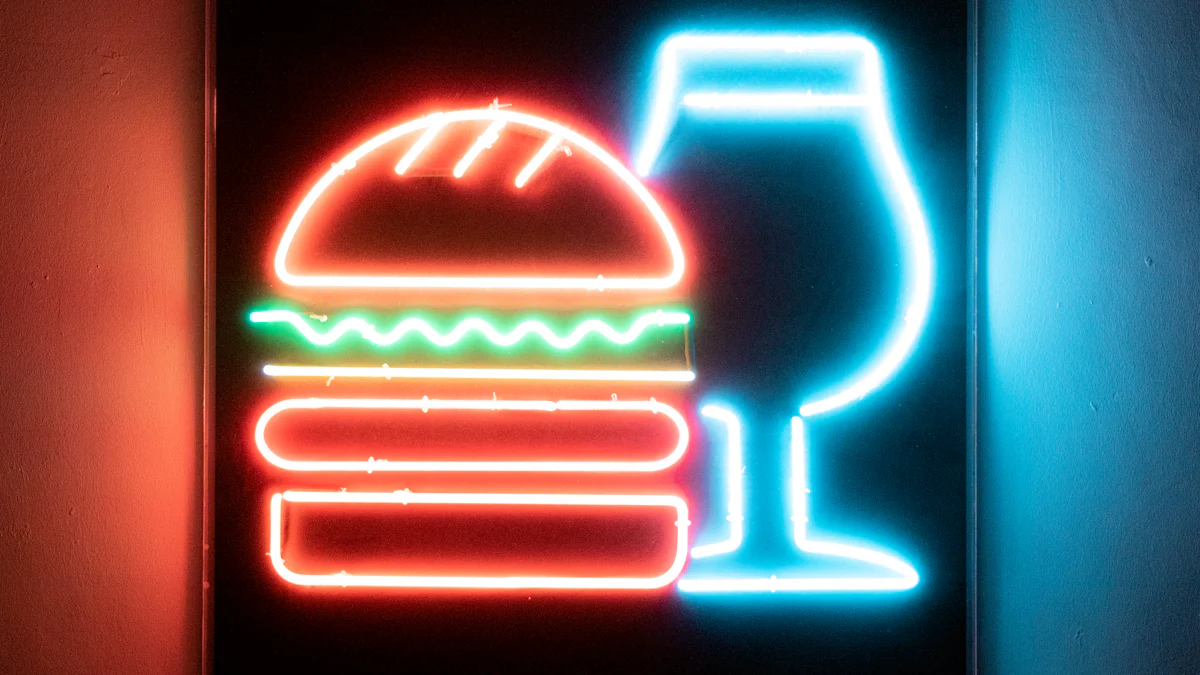
As you progress from the design phase to the practical execution of your custom neon sign, the process of assembling your creation requires precision and attention to detail. Let's explore the crucial steps involved in bringing your luminous masterpiece to life:
Creating the Circuit
The foundation of any LED neon sign lies in establishing a seamless electrical circuit that ensures your creation shines brightly. Follow this step-by-step guide to attach electrodes and set up the circuit effectively:
Prepare Your Materials: Gather your electrodes, LED neon flex strips, and necessary tools in a well-lit workspace.
Attach Electrodes: Carefully connect the electrodes to both ends of the LED neon flex strips, ensuring a secure and stable connection.
Test for Connectivity: Before proceeding further, test the circuit to verify that all components are functioning correctly.
Secure Connections: Use insulating materials as needed to protect connections and prevent any electrical mishaps during operation.
By meticulously following these steps, you lay a solid foundation for your neon sign to illuminate its surroundings with brilliance.
Shaping the Neon
Crafting a visually appealing LED neon sign involves more than just creating an electrical circuit; it also entails shaping the neon flex strips to match your envisioned design. Here are essential instructions for shaping your neon elements effectively:
Plan Your Design: Before bending or molding the LED neon flex strips, have a clear vision of how you want your sign to appear.
Bend with Care: Gently manipulate the flexible neon strips into curves or angles that align with your design sketch.
Avoid Overstretching: Be cautious not to overstretch or bend the LED neon too sharply, as this can damage the lights and affect their longevity.
Refine Details: Fine-tune each curve or shape until it mirrors your initial design concept accurately.
By approaching this step methodically and patiently, you ensure that your custom neon sign takes on its intended form with grace and precision.
Securing the Design
Once you've shaped your LED neon elements to perfection, it's vital to secure them in place effectively using appropriate fastening methods. Consider these tips for ensuring that your design remains intact:
"Properly securing your custom neon sign not only enhances its durability but also maintains its aesthetic appeal."
Utilize Zip Ties: Secure sections of the neon flex strips together using zip ties at strategic points along the design.
Employ Shaping Wire: For intricate designs or complex shapes, use shaping wire to reinforce specific areas and maintain structural integrity.
Organize Wiring: Neatly bundle excess wiring using plastic wire clips to prevent tangling or interference with other components.
By implementing these securing techniques thoughtfully, you guarantee that your custom neon sign stands out as a testament to both creativity and craftsmanship.
Installation and Maintenance
Mounting Your Sign
When it comes to mounting your custom neon sign, selecting the right backing material is crucial for both aesthetics and durability. Opt for a backing material that complements the design of your sign while providing ample support. Clear acrylic offers a modern and sleek look, enhancing the luminosity of the LED neon elements. Alternatively, wood backing adds a touch of warmth and rustic charm to your neon creation. Consider the placement of your sign and choose a mounting method that ensures stability and visibility, whether it's wall-mounted or freestanding.
Powering Up
Once your custom neon sign is securely mounted, it's time to power up and witness its radiant glow. Begin by locating a suitable power source near your installation area. Carefully plug in the power adapter, ensuring a secure connection to avoid any interruptions in illumination. As you switch on the power, marvel at how the vibrant hues of your neon creation come to life, infusing your space with personality and charm.
Maintenance Tips
To prolong the lifespan of your LED neon sign, regular maintenance is key to preserving its brilliance. Dust the surface gently with a soft cloth to remove any buildup that may dim its glow. Inspect the wiring periodically for any signs of wear or damage, ensuring all connections remain secure. In case of flickering lights or dimming sections, check for loose electrodes or faulty wiring and address them promptly to maintain optimal performance.
In conclusion, crafting your own custom neon sign is a rewarding journey that combines creativity and craftsmanship. By following the steps outlined in this guide, you can bring your luminous vision to life with LED Neon brilliance. Personally, witnessing the transformation from concept to glowing reality was both fulfilling and inspiring. I encourage you to embark on your neon sign-making adventure; the process is not only enjoyable but also results in a unique piece that truly reflects your style and personality.
See Also
Creating Bespoke Neon Signs: Key DIY Instructions
Mastering Personalized Neon Signs: A Comprehensive Manual
Crafting Unique Neon Signs: The Definitive How-To
Handmade Neon Sign: Brighten Your Area with a Personalized Design
Custom Neon Signs: Exploring Benefits and Crafting Techniques

About US
Follow Us
Rebow was founded in 2014 which is a company dedicated to creating high-end neon art in the world.With over 5000 square meters dust-free workshop, automatic production lines, modernized equipments and 100 employees,20 engineers, 30QC etc.qualitified work team.
Address
Address:1608,Unit C,No.37,west gemstone road,longteng community ,shiyan street ,bao an district ,shenzhen,China
Contacts
sales02@rebowsigns.com
WhatsApp:+86 18038005211
